CC2026 Guides Toys
Soft Toy Cookies
Hands-On Class Companion Guide
Thank you so much for joining my hands-on class at CookieCon!
This guide is a short companion to help you remember the main supplies, icing consistencies, general workflow, and recipes we used in class.
 View full size
What We Made
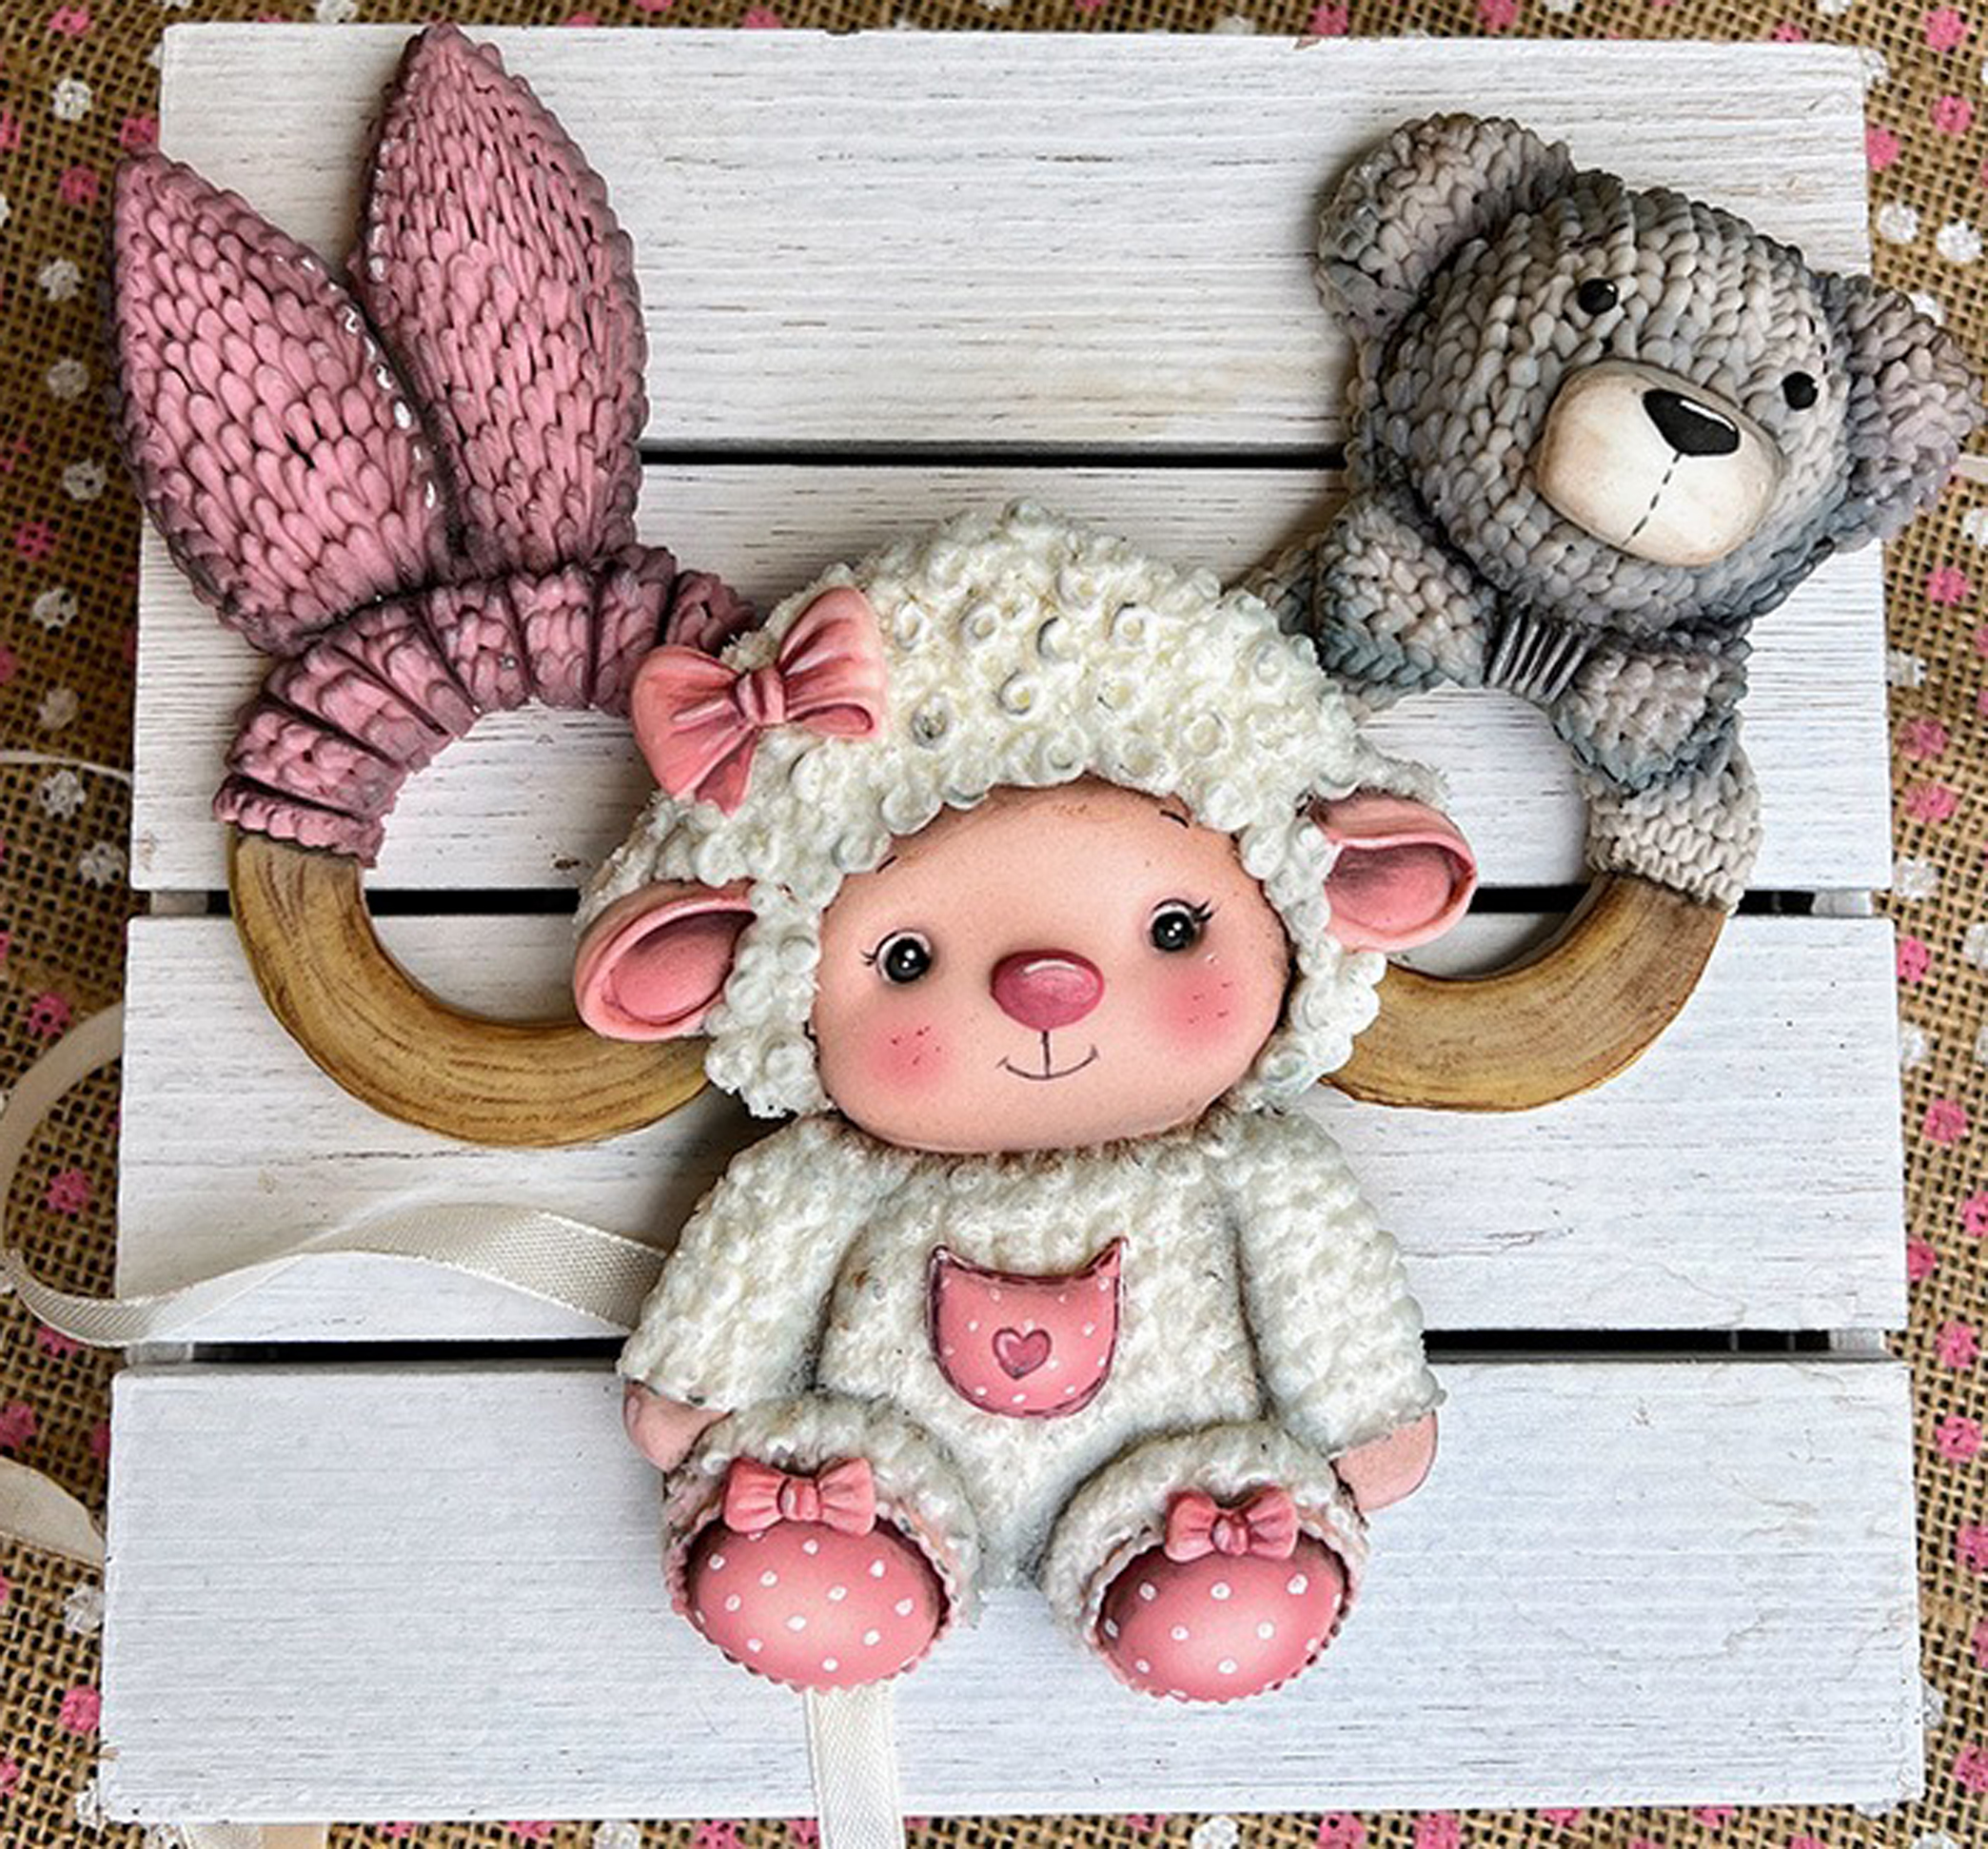
In this class, we created three soft toy-inspired cookies:
- Lamb doll cookie
- Teddy bear rattle cookie
- Bunny teether cookie
The main focus of this class was learning how to create the illusion of soft textures using royal icing, wafer paper, edible colors, and dimensional piping.
Main Techniques Covered
- Dimensional royal icing piping
- Knitted texture with stiff icing
- Wool texture with icing and ground wafer paper
- Wood texture using icing, brush strokes, airbrush, and dusts
- Building character faces with volume and expression
- Layering sections from back to front
- Airbrushing, dry dusting, and painted finishing details
Basic Supply List
Cookies
- Baked cookie pieces for lamb, teddy rattle, and bunny teether
- Optional small dome/hemisphere cookie for teddy face
Icing
- Royal icing in different consistencies
- Stiff icing for knitted texture
- Outline/piping icing for wool curls
- Piping consistency icing for face, ears, feet, and details
- Small amount of icing for attaching transfers and cookie pieces
Textures & Details
- Ground wafer paper for lamb wool
- Wafer paper for bow support, if needed
- Prepared icing transfers such as pocket, bows, or small accents
- Edible markers or fine brushes for facial details
Coloring
- Airbrush colors
- Edible dusts
- Gel colors
- White gel color for mixing with details
- Alcohol or clear extract for painted accents, if needed
Tools
- Piping bags
- Small round tips or tipless bags
- Wide flat brush
- Fine detail brushes
- Soft dusting brushes
- Tweezers
- Dehydrator or drying fan
- Paper towels and small palettes
Icing Consistency Notes
Stiff Icing
Used for knitted texture. It should hold shape clearly and not melt into the surface.
Outline/Piping Icing
Used for lamb wool curls. It should create visible circles or curls and hold the wafer paper well.
Piping Consistency
Used for face, nose, ears, feet, and dimensional areas. It should be soft enough to smooth, but thick enough to build volume.
General Decorating Order
- Prepare cookie bases and transfer sketches.
- Work from the areas that are visually farther away to the areas that sit on top.
- Build dimensional sections slowly, allowing icing to crust when needed.
- Add texture: wool, knitting, wood grain, and soft fabric effects.
- Dry cookies well before tinting.
- Add airbrushing first, then edible dusts, then final painted details.
- Finish with eyes, highlights, blush, stitches, dots, and small accents.
Important Class Reminders
- Do not try to make every texture perfect. Handmade toys have charm because they are not identical.
- Let icing crust before adding overlapping sections.
- Use less icing near borders when another section will sit on top.
- Smooth areas are important too—they help textured areas stand out.
- Tinting creates depth, shadows, and personality.
- A tiny white highlight in the eyes makes a big difference.
Practice Notes
When practicing at home, try the techniques separately before making the full project:
- Practice knitted lines on a plain cookie.
- Practice wool curls with wafer paper on parchment.
- Practice wood texture on a simple ring cookie.
- Practice small eyes and facial expression on a test cookie.
Small details take time, but they become easier with practice.
Useful Materials
The following materials are included with this guide:
